The founders of Buckley Media and INK have joined forces to create the world’s first agency combining Premium Domain Services—Sales, Acquisitions, Corporate Domain Services, with a full suite of Top Tier Branding & Growth Services.
This is Branding Redefined.
Legendary brands don’t simply improve the category, they define it—woven into the fabric of the culture for decades to come. At Defining.com, we build that potential into every brand. We begin with your foundation: your name and your domain, and make them titanium strong. Not just instantly authoritative and memorable, but increasingly valuable.
On that foundation, we identify growth opportunities and position you for greatness. And that potential lives at the heart of every brand we build, from a first impression to a lasting one. A North Star, rather than just another star.
Defining.com: Make Your Mark.
Core Services
Domain Services
Providing expert premium domain brokerage: sales & acquisitions; domain consulting and appraisals; and a full suite of corporate domain services—helping you maximize value on key digital assets. Every time.
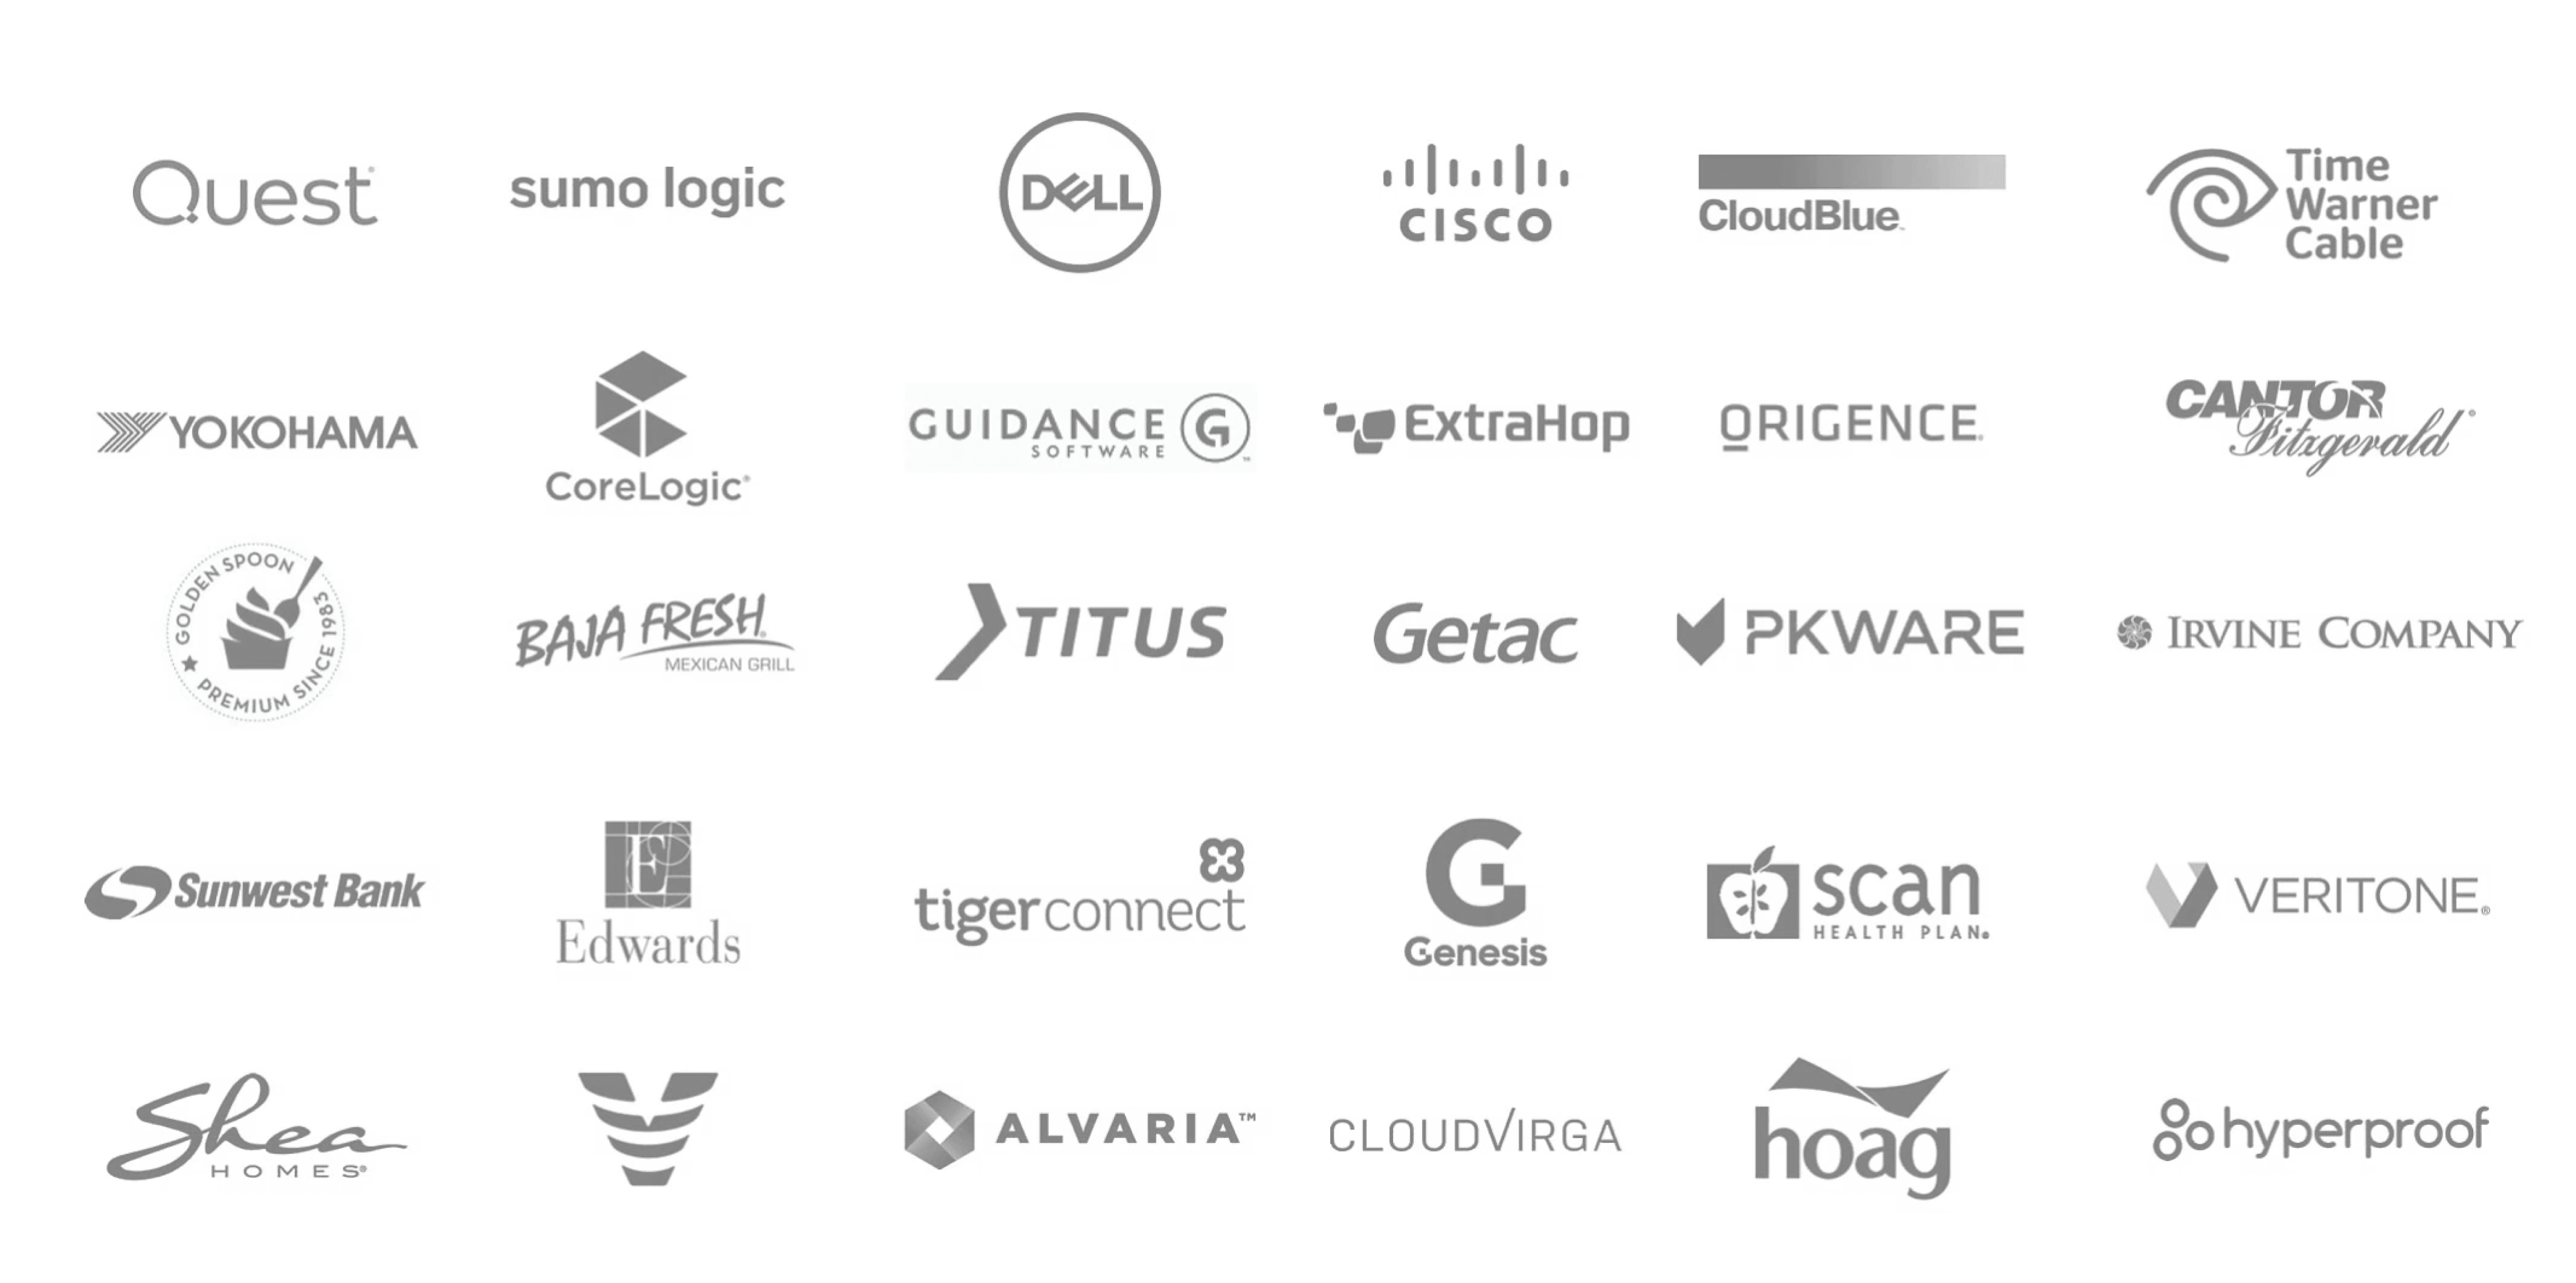
Our blend of strategic services and wildly creative mindset delivers unparalleled results that helps your business thrive. 300+ companies served and the killer testimonials to prove it.
We work with founders, PE, and VCs to identify the right name for your company or brand, and help you to secure the exact match domain as well as ancillary IP. All in a matter of weeks.
We empower well-funded startups to Enterprise firms with dynamic branding strategies, fusing cutting-edge AI and our 30-year record of fortifying over 300 brands—all without breaking the bank.
Two successful CEOs at the top of their game coming together to create the new standard in Branding and Domain Services: Hands-on experts who are committed to your success, supported by a world-class team of specialists.